Hello! Welcome to Tech Ankur
If you are looking for How to add Ordered List In Blogger website then this post is just for you.

Are you worried about the speed of your website? Don't worry, this will not affect your website speed.
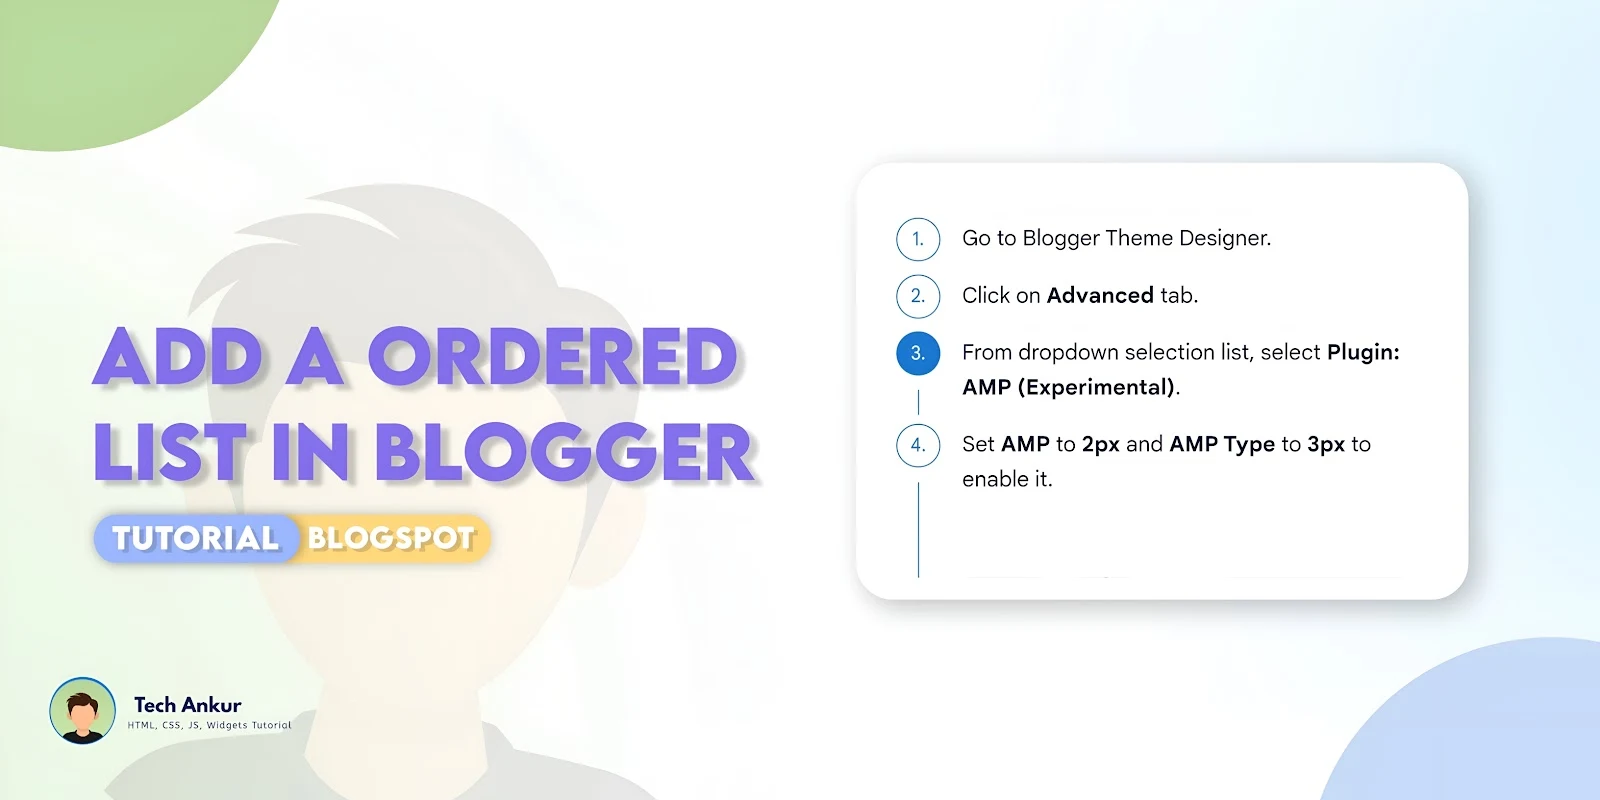
In this tutorial, we will learn how to create a stylish numbered list with a vertical line connecting the numbers in Blogger. This design can make the content of Blogger sites look more organized and professional.
What is ordered list
An ordered list is a way of organizing items where the sequence matters. Each item is typically numbered or lettered, indicating a specific order. In HTML, for example, an ordered list is created using the <ol> tag, and each item within it is defined with the <li> tag. This type of list is useful for presenting steps in a process, rankings, or any information that requires a specific arrangement.
You can see the demo here⤵
Easy Steps To Add a Ordered List In Blogger website
- First of all Login to your Blogger Dashboard.
- On Blogger Dashboard, click Theme.
- Click the arrow down icon next to 'customize' button.
- Now search the code
]]></b:skin>or<style>and paste the following CSS Codes just above to it./* Ordered list by- Tech Ankur */ .ol_list{counter-reset:num;line-height:1.6;list-style:none;margin:0;padding:0;} .ol_list>li{position:relative;counter-increment:num;padding-inline-start:45px;} .ol_list>li:not(:last-child){padding-bottom:15px;} .ol_list>li::before{content:counter(num) '.';display:flex;align-items:center;justify-content:center;position:absolute;top:0;width:30px;height:30px;border:1px solid var(--linkB);border-radius:50%;color:var(--linkB);font:small 'Fira Sans', sans-serif;transition:background .1s ease,color .1s ease;} .ol_list>li::before{left:0;} .ol_list>li::before{right:0;} .ol_list>li:hover::before{background-color:var(--linkB);color:#fffdfc;} .ol_list>li::after{content:'';position:absolute;top:calc(30px + 8px);bottom:8px;border-inline-start:1px solid var(--linkB);} .ol_list >::after{left:calc(30px / 2);} .ol_list>li::after{right:calc(30px / 2);} .ol_list>img{margin-top:1.2em;} /* Unordered list style*/ .ul_list {list-style: none!important;list-style-type: none!important;padding: 0;} .ul_list>li {margin-bottom: 3px;position: relative;margin-left: 35px} .ul_list>li::before {content: ''; background-image: url("data:image/svg+xml,%3Csvg viewBox%3D'0 0 24 24' xmlns%3D'http://www.w3.org/2000/svg' fill%3D'none' stroke%3D'%230066ff' stroke-width%3D'2' stroke-linecap%3D'round' stroke-linejoin%3D'round' class%3D'feather feather-check-circle'%3E%3Cpath d%3D'M22 11.08V12a10 10 0 1 1-5.93-9.14'%3E%3C/path%3E%3Cpolyline points%3D'22 4 12 14.01 9 11.01'%3E%3C/polyline%3E%3C/svg%3E"); background-repeat: no-repeat;height: 18px;width: 18px;left: -30px;text-align: center;position: absolute;top: 3px} - Save the CSS changes by clicking on this icon
- Then go to the post/page or place which you want to add Custom Numbering List
- Now paste the following HTML code to that place
Ordered HTML
<ol class="ol_list">
<li> Content </li>
<li> Content </li>
<li> Content </li>
<li> Content </li></ol>
Unordered HTML
<ol class="ul_list">
<li> Content </li>
<li> Content </li>
<li> Content </li>
<li> Content </li></ol>
You can change html texts as you want in the code box!
- Then Save or Publish.
That's done!
If you face any problem then join our Tech Ankur Group
Copyright:
@techankur
Source:
https://plus-ui.blogspot.com